Introduction to Magical Unicorn Cheesecake
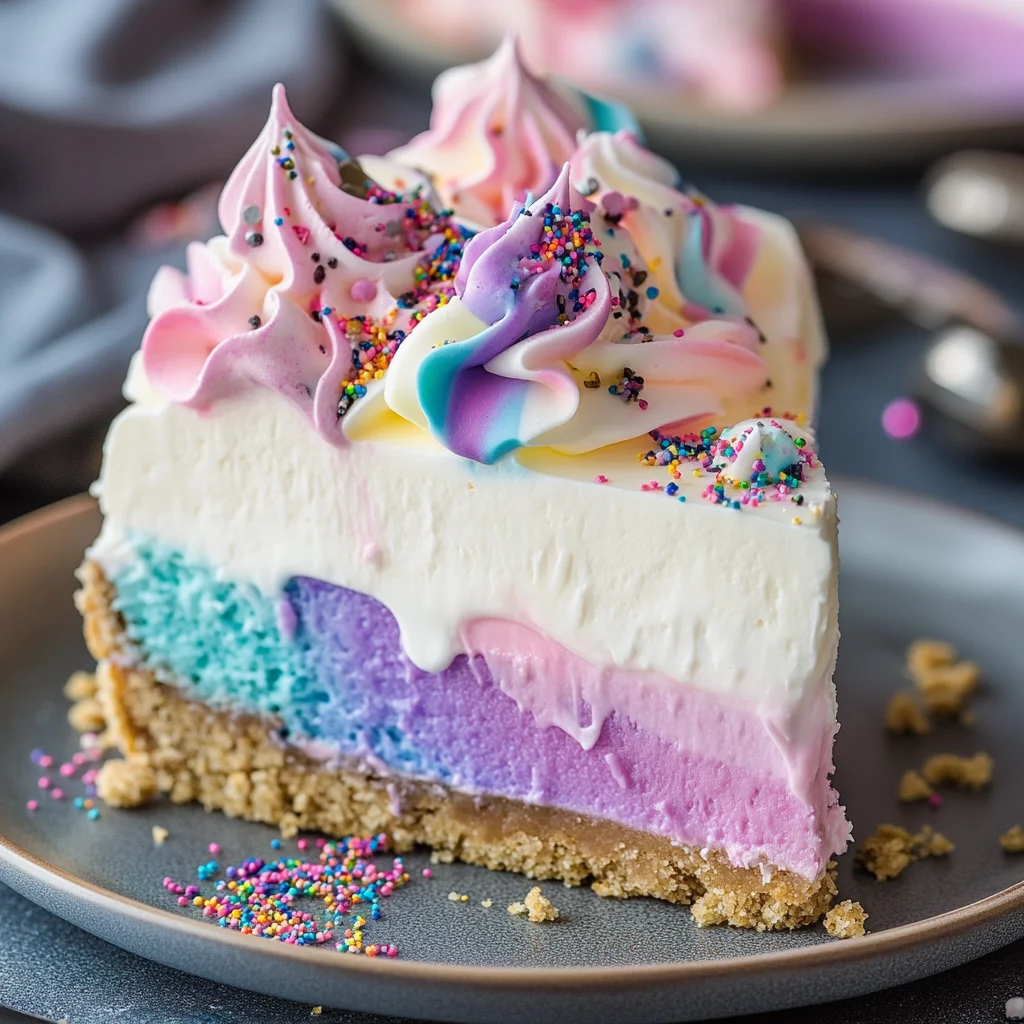
Welcome to the whimsical world of baking, where I’m excited to share my recipe for Magical Unicorn Cheesecake! This delightful dessert is not just a feast for the eyes; it’s a quick solution for busy days when you want to impress your loved ones. Picture a creamy, colorful cheesecake that brings smiles and joy to any occasion. Whether it’s a birthday party or a cozy family dinner, this cheesecake adds a sprinkle of magic to your table. Trust me, once you try it, you’ll be dreaming of unicorns and rainbows with every bite!
Why You’ll Love This Magical Unicorn Cheesecake
This Magical Unicorn Cheesecake is a true crowd-pleaser, and it’s surprisingly easy to make! With just a few simple steps, you can create a stunning dessert that tastes as good as it looks. The creamy texture and vibrant colors will captivate both kids and adults alike. Plus, it’s perfect for any occasion, making it a versatile addition to your dessert repertoire. Who wouldn’t want a slice of magic on their plate?
Ingredients for Magical Unicorn Cheesecake

To create this enchanting Magical Unicorn Cheesecake, you’ll need a delightful mix of ingredients that come together to form a creamy, colorful masterpiece. Here’s what you’ll need:
- Graham cracker crumbs: These form the base of your cheesecake, providing a sweet and crunchy crust.
- Granulated sugar: Sweetens both the crust and the filling, balancing the flavors beautifully.
- Unsalted butter: Adds richness to the crust and helps bind the crumbs together.
- Cream cheese: The star of the show! It gives the cheesecake its creamy texture and tangy flavor.
- Vanilla extract: A splash of this adds warmth and depth to the cheesecake filling.
- Eggs: Essential for structure, they help the cheesecake set perfectly.
- Sour cream: This ingredient contributes to the cheesecake’s creaminess and adds a slight tang.
- Heavy cream: Makes the filling extra luscious and smooth, enhancing the overall texture.
- Food coloring (pink, blue, purple): These vibrant colors create the magical effect, making your cheesecake visually stunning.
- Whipped cream: A fluffy topping that adds a light finish to each slice.
- Edible glitter or sprinkles: For that final touch of magic, these decorations make your cheesecake sparkle!
For exact measurements, you can find them at the bottom of the article, ready for printing. Feel free to get creative with the colors or even try different flavor extracts to make this cheesecake your own!
How to Make Magical Unicorn Cheesecake
Now that you have all your ingredients ready, let’s dive into the fun part: making this Magical Unicorn Cheesecake! Follow these simple steps, and you’ll be on your way to creating a dessert that’s as delightful to eat as it is to look at.
Step 1: Preheat the Oven
First things first, preheat your oven to 325°F (160°C). Preheating is crucial because it ensures that your cheesecake bakes evenly. A hot oven helps set the filling just right, giving you that perfect creamy texture. Trust me, you don’t want to skip this step!
Step 2: Prepare the Crust
In a mixing bowl, combine your graham cracker crumbs, sugar, and melted butter. Mix until everything is well combined. The mixture should resemble wet sand. Now, press this mixture firmly into the bottom of a springform pan. This step is vital! A well-pressed crust will hold together beautifully when you slice into your cheesecake.
Step 3: Make the Cheesecake Filling
In a large mixing bowl, beat the softened cream cheese until it’s smooth and creamy. This is where the magic begins! Gradually add in the sugar and vanilla extract, mixing until everything is well blended. Now, add the eggs one at a time, mixing well after each addition. This helps incorporate air, making your cheesecake light and fluffy.
Step 4: Add Sour Cream and Heavy Cream
Next, stir in the sour cream and heavy cream. These ingredients are key to achieving that rich, creamy texture we all love in a cheesecake. They add moisture and a slight tang that balances the sweetness perfectly. Mix until the batter is smooth and luscious.
Step 5: Color the Batter
Now comes the fun part! Divide the cheesecake batter into three separate bowls. Add a few drops of food coloring to each bowl—pink, blue, and purple. Mix gently until you achieve your desired colors. This is where your Magical Unicorn Cheesecake starts to come to life!
Step 6: Swirl the Colors
Pour the colored batters into the crust in a swirling pattern. Start with one color, then add another, and continue until all colors are in the pan. Use a knife or a skewer to gently swirl the colors together. This creates a beautiful marbled effect that will wow your guests!
Step 7: Bake the Cheesecake
Place your cheesecake in the preheated oven and bake for 60-70 minutes. You’ll know it’s done when the center is set but still slightly jiggly. Don’t worry; it will firm up as it cools. Keep an eye on it to avoid overbaking, which can lead to cracks.
Step 8: Cool and Refrigerate
Once baked, remove the cheesecake from the oven and let it cool at room temperature. After it’s cooled, refrigerate it for at least 4 hours, or overnight if you can wait! Chilling is essential for the best texture and flavor. It allows the cheesecake to set perfectly.
Step 9: Decorate and Serve
When you’re ready to serve, top your cheesecake with a generous dollop of whipped cream. For that final touch of magic, sprinkle some edible glitter or colorful sprinkles on top. Slice it up, and watch as everyone’s eyes light up with delight. Enjoy every bite of your Magical Unicorn Cheesecake!
Tips for Success

- Make sure all ingredients are at room temperature for a smooth batter.
- Don’t rush the mixing; take your time to incorporate air for a fluffy cheesecake.
- Use a water bath while baking to prevent cracks and keep the cheesecake moist.
- Let the cheesecake cool completely before refrigerating for the best texture.
- Experiment with different colors and toppings to personalize your cheesecake!
Equipment Needed
- Springform pan: Essential for easy removal of the cheesecake. A regular cake pan can work, but slicing will be trickier.
- Mixing bowls: Use a large bowl for the filling and smaller ones for coloring. Any mixing bowl will do!
- Electric mixer: A hand mixer or stand mixer makes beating the cream cheese a breeze.
- Spatula: Perfect for scraping down the sides of the bowl and folding in ingredients.
- Knife or skewer: Handy for swirling the colors together in the batter.
Variations of Magical Unicorn Cheesecake
- Gluten-Free Option: Substitute graham cracker crumbs with gluten-free cookie crumbs or almond flour for a gluten-free crust.
- Fruit-Infused: Add pureed fruits like strawberries or blueberries to the batter for a fruity twist and natural sweetness.
- Chocolate Lovers: Mix in cocoa powder to one of the colored batters for a chocolatey layer, or drizzle melted chocolate on top.
- Vegan Version: Use vegan cream cheese and replace eggs with flaxseed meal mixed with water for a plant-based cheesecake.
- Flavor Variations: Experiment with different extracts like almond or lemon to give your cheesecake a unique flavor profile.
Serving Suggestions
- Pair your Magical Unicorn Cheesecake with fresh berries for a burst of flavor.
- Serve with a scoop of vanilla ice cream for an extra indulgent treat.
- Complement with a light fruit salad to balance the richness.
- For drinks, consider a sparkling lemonade or a fruity mocktail.
- Present on a colorful cake stand to enhance the magical theme!
FAQs about Magical Unicorn Cheesecake
Can I make Magical Unicorn Cheesecake ahead of time?
Absolutely! This cheesecake is perfect for making ahead. Just bake it, let it cool, and refrigerate it for at least 4 hours or overnight. It actually tastes better after chilling, as the flavors meld beautifully.
What can I use instead of cream cheese?
If you’re looking for a lighter option, you can use ricotta cheese or mascarpone. Just keep in mind that the texture and flavor will differ slightly, but it will still be delicious!
How do I store leftovers?
Store any leftover Magical Unicorn Cheesecake in an airtight container in the refrigerator. It should stay fresh for about 3-5 days. Just be sure to keep it covered to maintain its creamy texture.
Can I freeze this cheesecake?
Yes, you can freeze Magical Unicorn Cheesecake! Wrap it tightly in plastic wrap and then in aluminum foil. It can be frozen for up to 2 months. Thaw it in the refrigerator before serving for the best texture.
What if I don’t have a springform pan?
No worries! You can use a regular cake pan, but be prepared for a bit of a challenge when it comes to slicing. Just make sure to line the bottom with parchment paper for easier removal.
Final Thoughts
Creating this Magical Unicorn Cheesecake is more than just baking; it’s about bringing joy and a sprinkle of magic to your table. Each slice is a celebration of color and flavor, perfect for any occasion. I love watching my family’s faces light up as they take their first bite, and I know you will too! This cheesecake is a reminder that even in our busy lives, we can create moments of happiness and delight. So, gather your loved ones, whip up this enchanting dessert, and let the magic unfold with every delicious bite!
Print
Magical Unicorn Cheesecake
- Total Time: 4 hours 30 minutes
- Yield: 12 servings 1x
- Diet: Vegetarian
Description
A delightful and colorful cheesecake that brings a touch of magic to any occasion.
Ingredients
- 1 1/2 cups graham cracker crumbs
- 1/4 cup granulated sugar
- 1/2 cup unsalted butter, melted
- 4 (8 oz) packages cream cheese, softened
- 1 cup granulated sugar
- 1 teaspoon vanilla extract
- 4 large eggs
- 1 cup sour cream
- 1/2 cup heavy cream
- Food coloring (pink, blue, purple)
- Whipped cream, for topping
- Edible glitter or sprinkles, for decoration
Instructions
- Preheat the oven to 325°F (160°C).
- In a bowl, mix graham cracker crumbs, 1/4 cup sugar, and melted butter until combined.
- Press the mixture into the bottom of a springform pan to form the crust.
- In a large mixing bowl, beat the softened cream cheese until smooth.
- Add 1 cup sugar and vanilla extract, mixing until well combined.
- Add eggs one at a time, mixing well after each addition.
- Stir in sour cream and heavy cream until smooth.
- Divide the batter into three bowls and add food coloring to each to create pink, blue, and purple colors.
- Pour the colored batters into the crust in a swirling pattern.
- Bake for 60-70 minutes or until the center is set but slightly jiggly.
- Let the cheesecake cool, then refrigerate for at least 4 hours or overnight.
- Top with whipped cream and decorate with edible glitter or sprinkles before serving.
Notes
- Ensure all ingredients are at room temperature for best results.
- For a firmer cheesecake, bake a little longer.
- Feel free to customize the colors as desired.
- Prep Time: 30 minutes
- Cook Time: 70 minutes
- Category: Dessert
- Method: Baking
- Cuisine: American
Nutrition
- Serving Size: 1 slice
- Calories: 350
- Sugar: 25g
- Sodium: 300mg
- Fat: 25g
- Saturated Fat: 15g
- Unsaturated Fat: 5g
- Trans Fat: 0g
- Carbohydrates: 30g
- Fiber: 1g
- Protein: 5g
- Cholesterol: 100mg
Keywords: Magical Unicorn Cheesecake, colorful cheesecake, dessert recipe